Hello Everyone, in this tutorial i will to share how to install ubuntu server using virtualbox. This useful to exercise for you which begin learning ubuntu server.
Ok let’s try for step by step installation of ubuntu server.
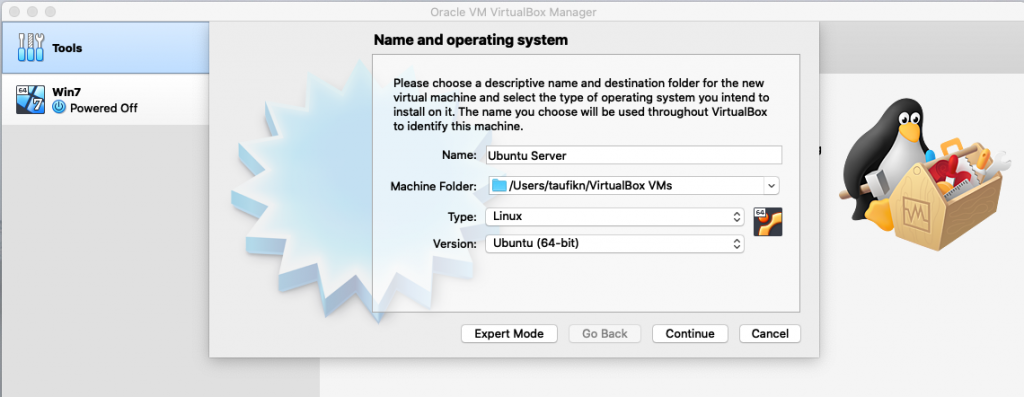
First make sure you has been to create virtual machine for running ubuntu server.
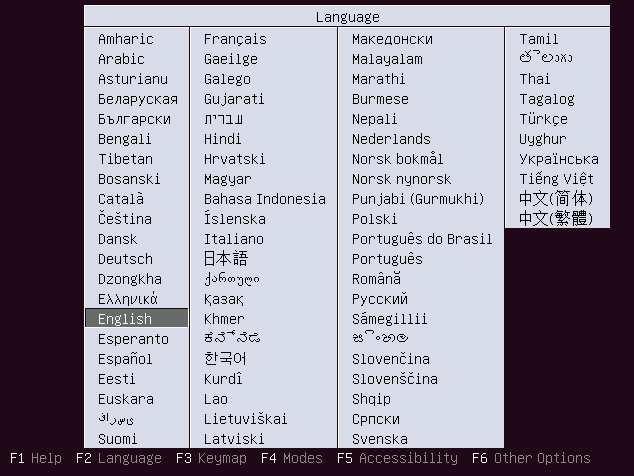
In This menu choose English language and then choose enter.
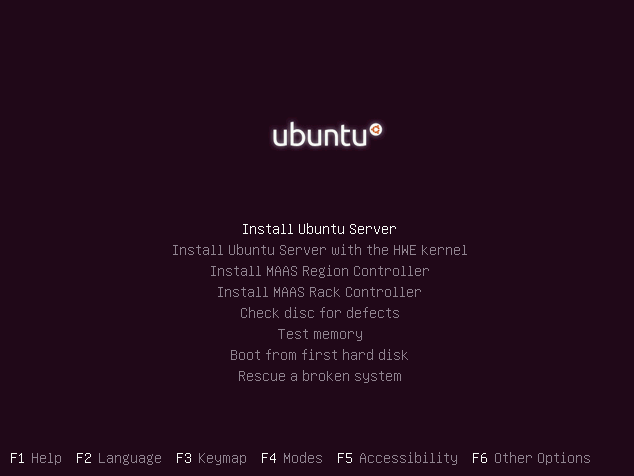
Choose Installation Ubuntu server to continue and then press enter
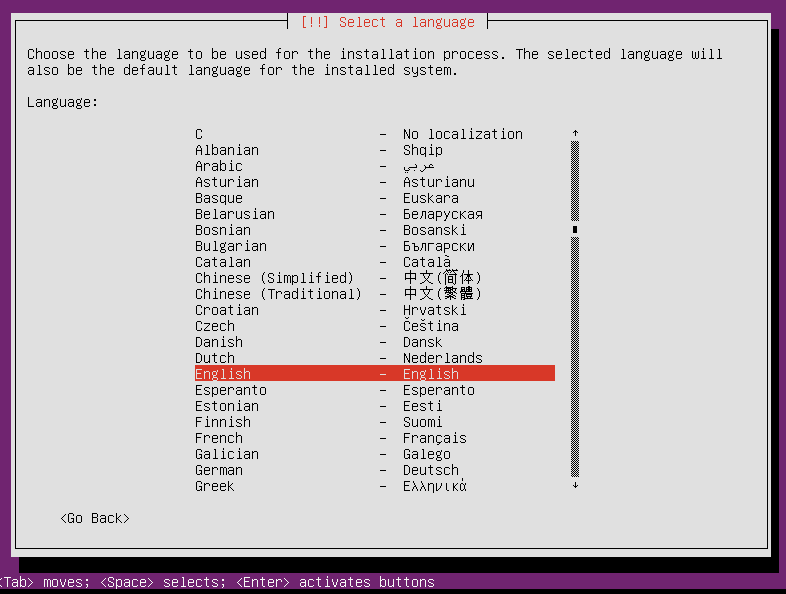
In menu select a language, choose language which you will to use. in this tutorial i am using English.
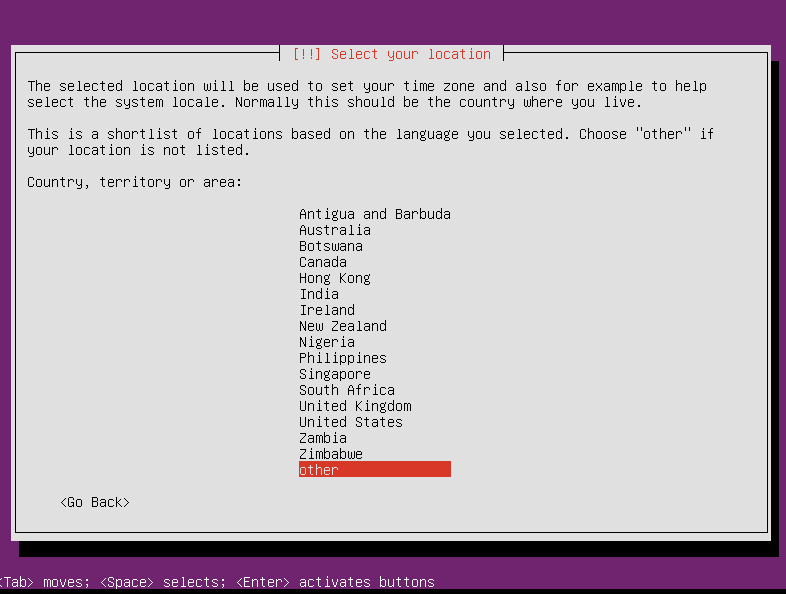
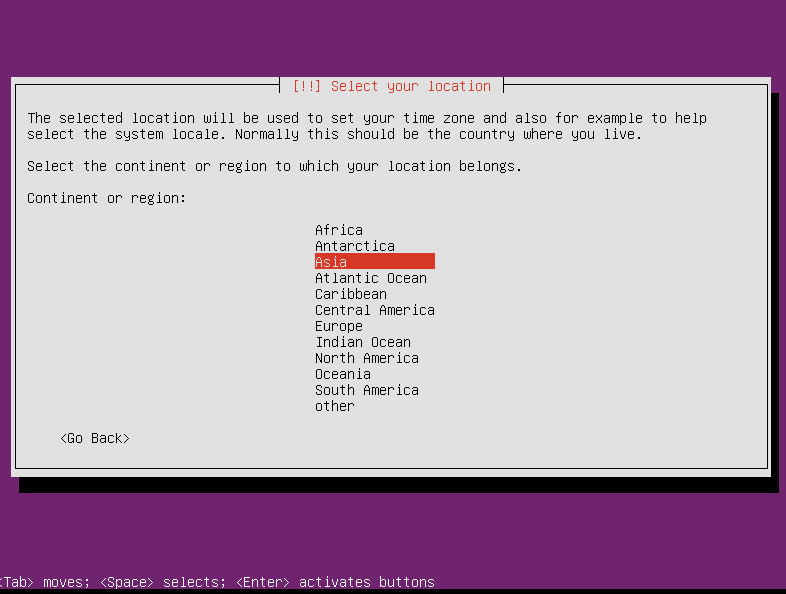
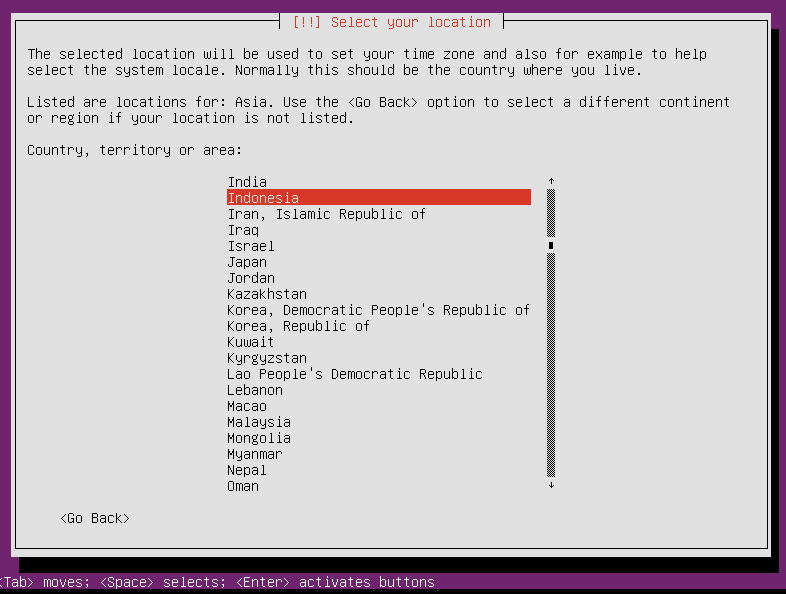
Select your location where you are. because I am from Indonesia then I will select for Indonesia in menu Other > Asia > Indonesia as shown bellow.
In Configure locales, select United States and then press enter to continue

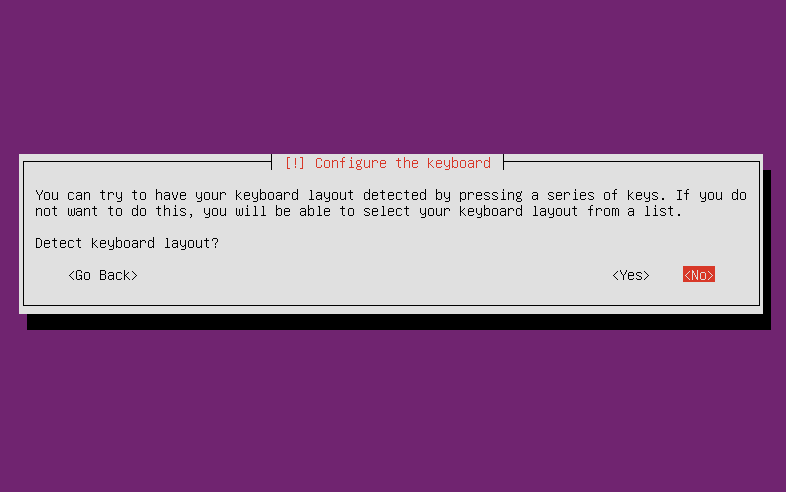
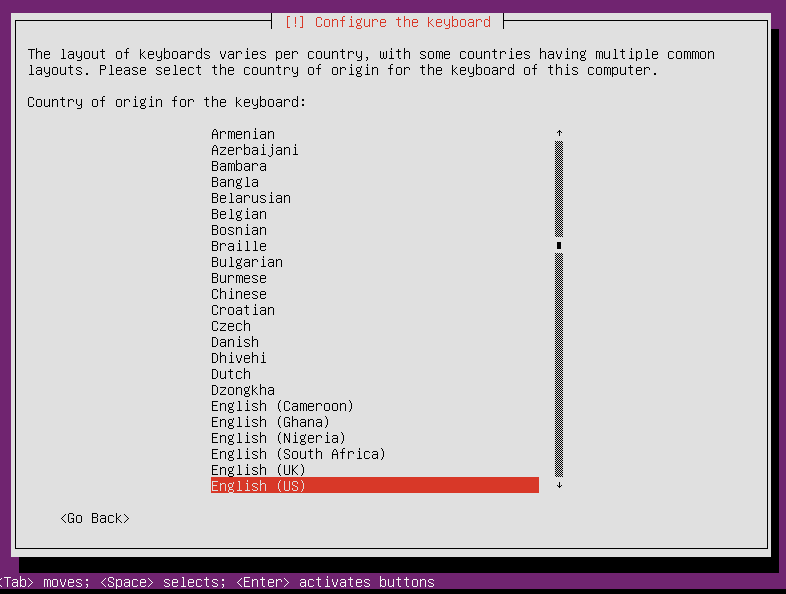
In Configure the keyboard choose no so it doesn’t detect keyboard layout automatically
And the next Configure the keyboard, you only press enter to continue
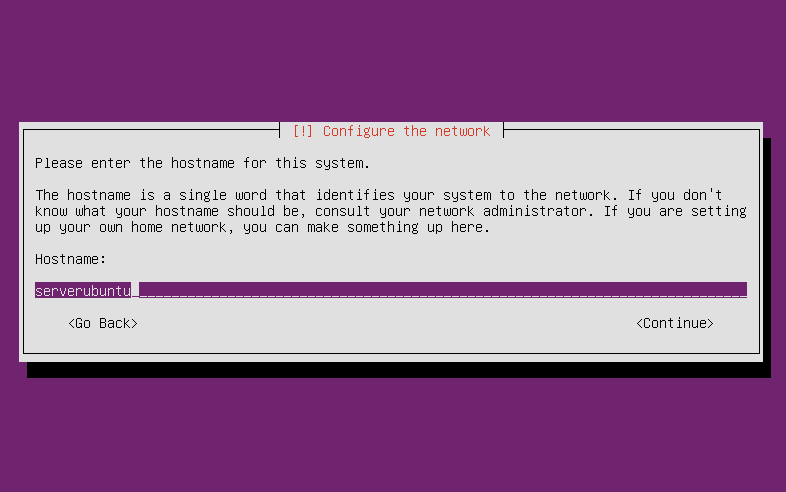
Fill in the hostname with name for your server and then press enter to continue
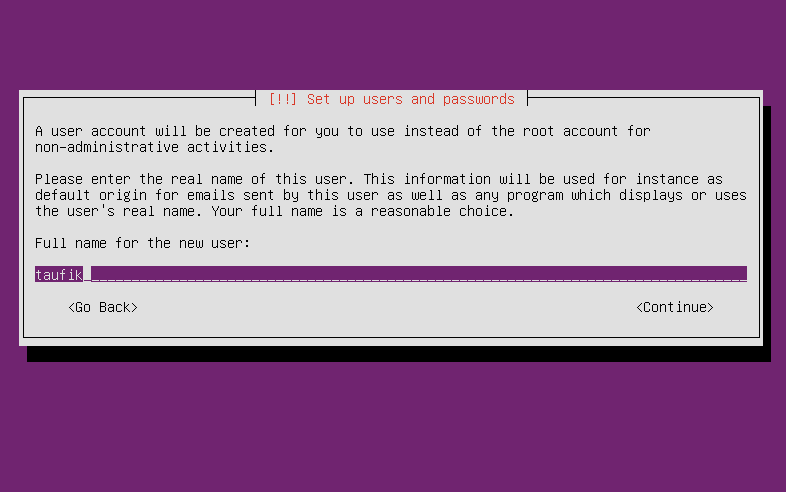
After that, you must fill in name for new regular user in your server. note to remember user and password that you have created because in ubuntu server environment first login, you must login with regular user and then you can swich to root user
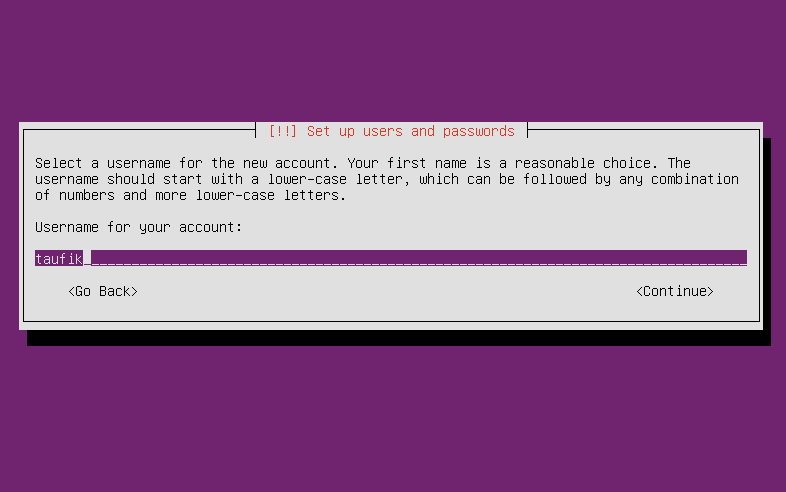
User account same with configuration obove and then enter to continue
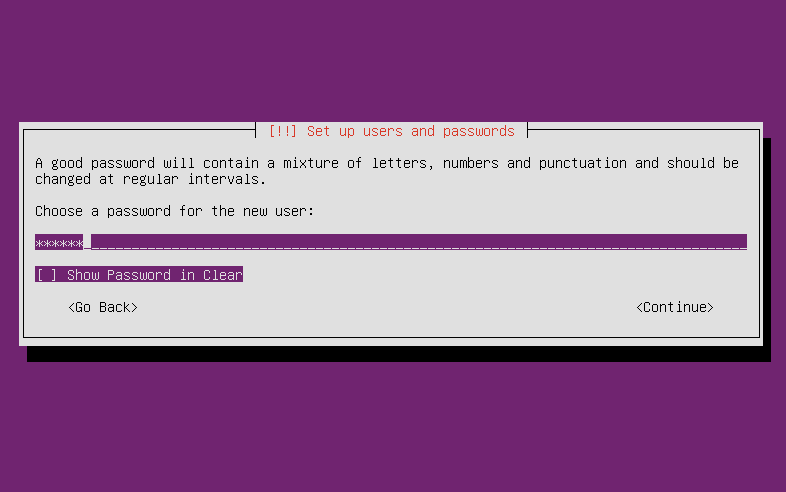
Configure your password for new user in your server and then enter to continue
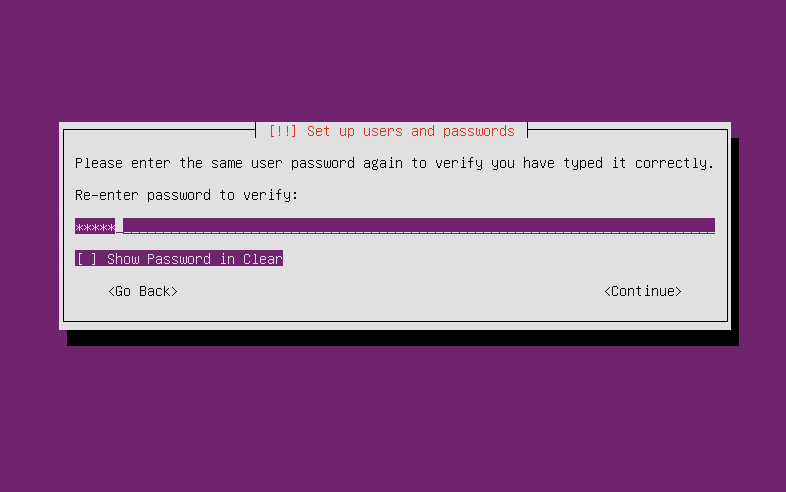
After that, you will asked to verify user password to confirm that your password is true and not typo for fill in password before
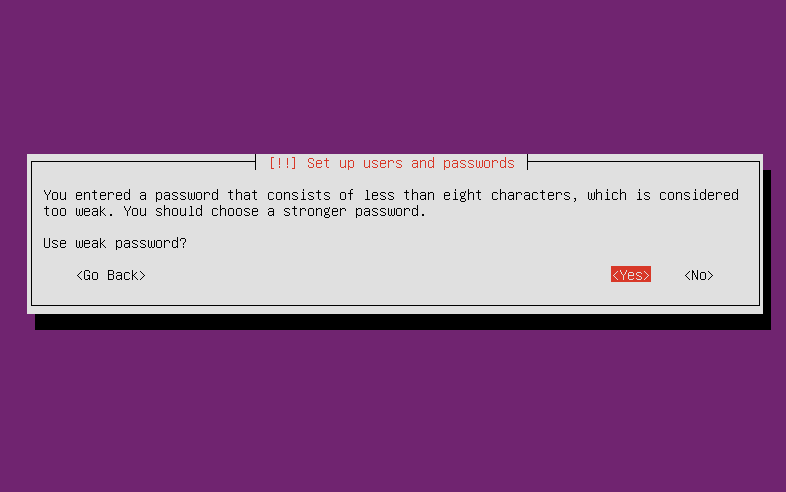
Then, choose Yes if you configure the weak password for your server, after that press enter to continue
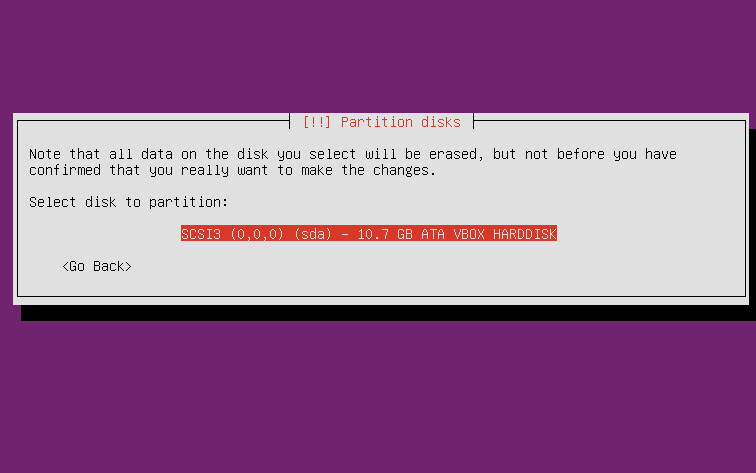
In partition disk menu, select use entire disk and set up LVM which in the midle option
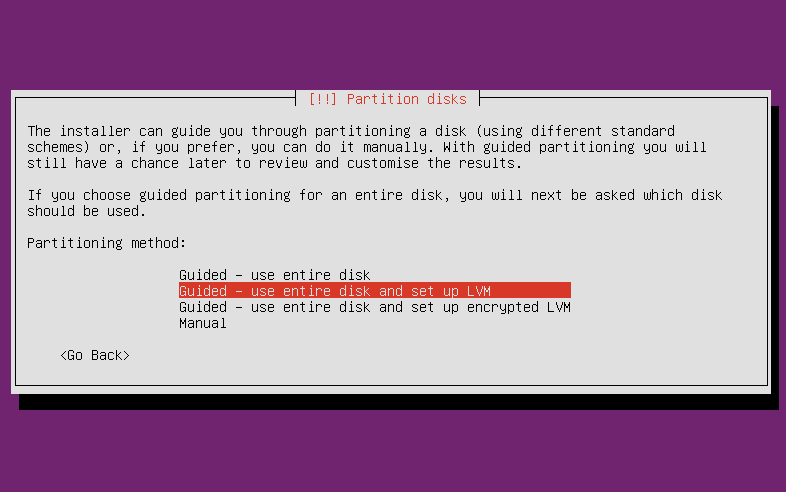
Then, only press enter to continue
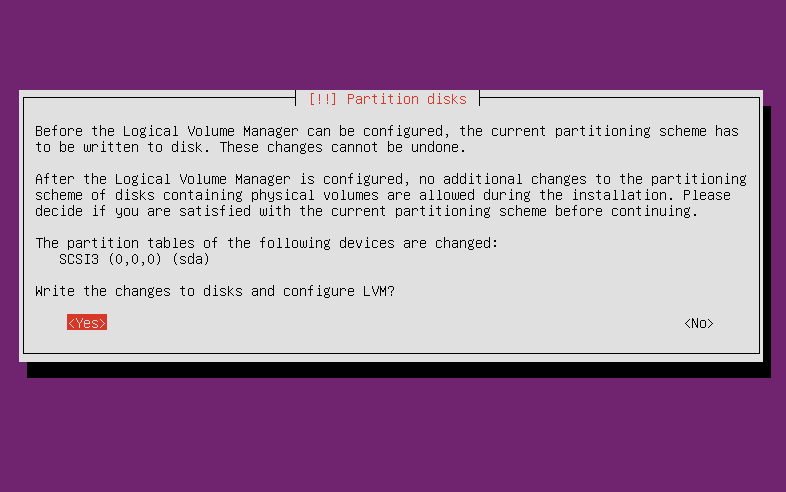
In the menu Write the changes disk, select yes option, and then press enter to continue
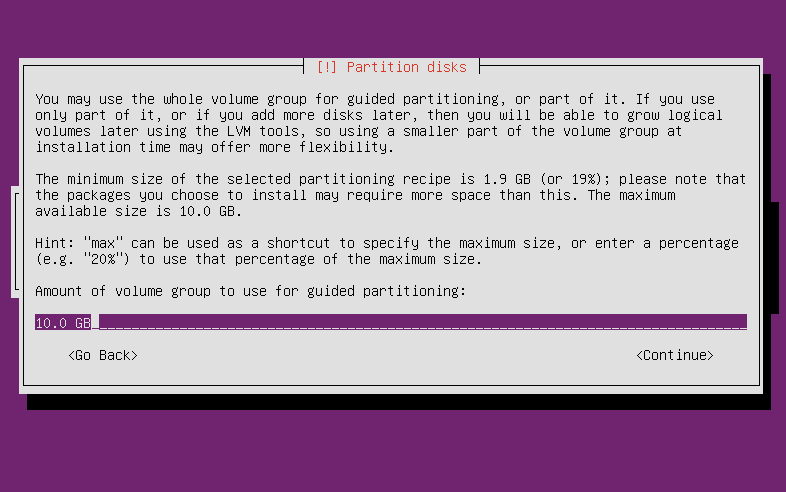
In this menu, use All volume disk, no need to change configuration, press enter to continue
Select Yes option and then press enter to continue
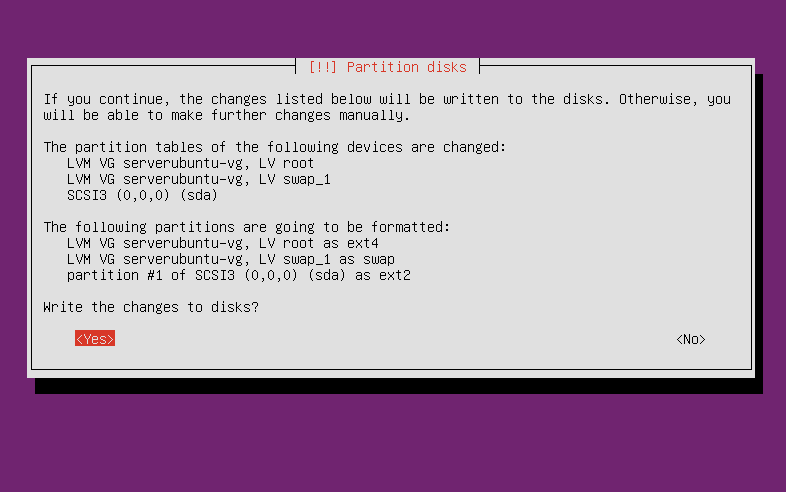
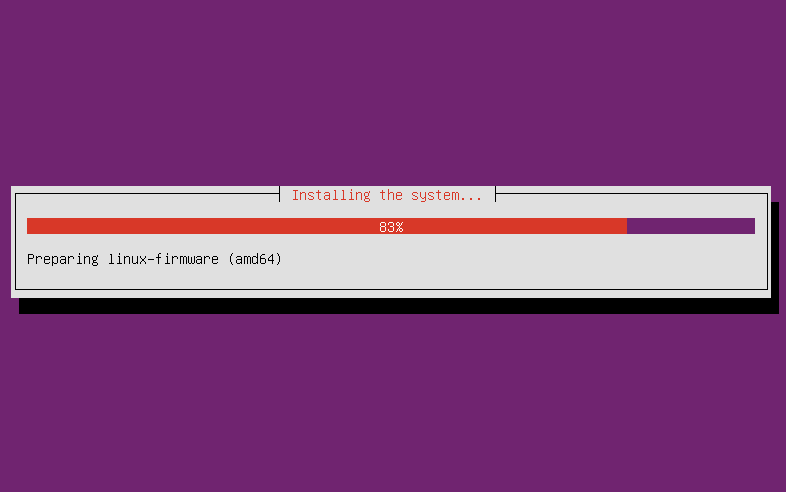
Wait Until finish for installation proccess
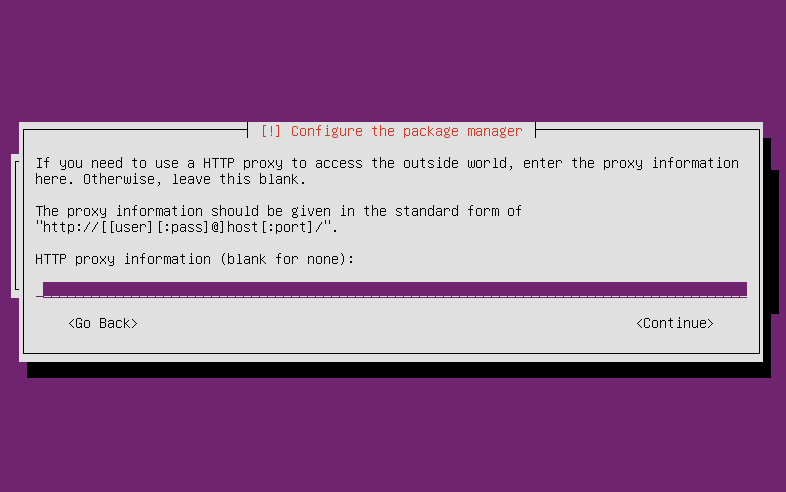
For the configure http proxy, no need to change anyting. just press enter to continue.
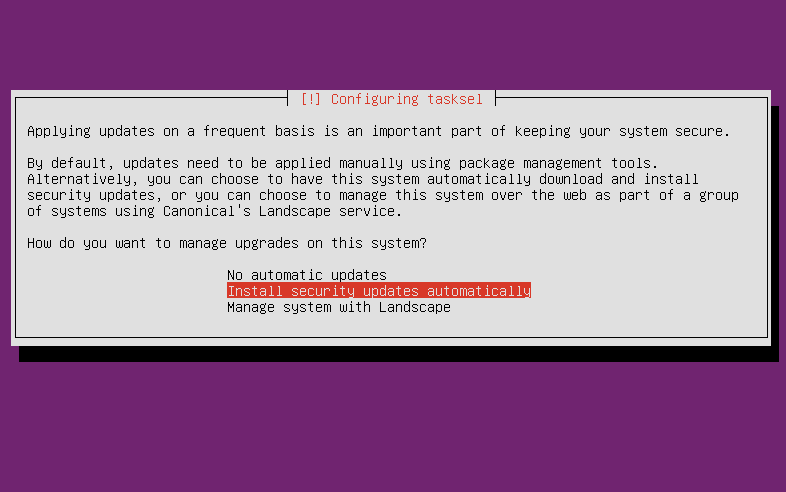
In Configure tasksel , select Install security update automatically, and then press enter
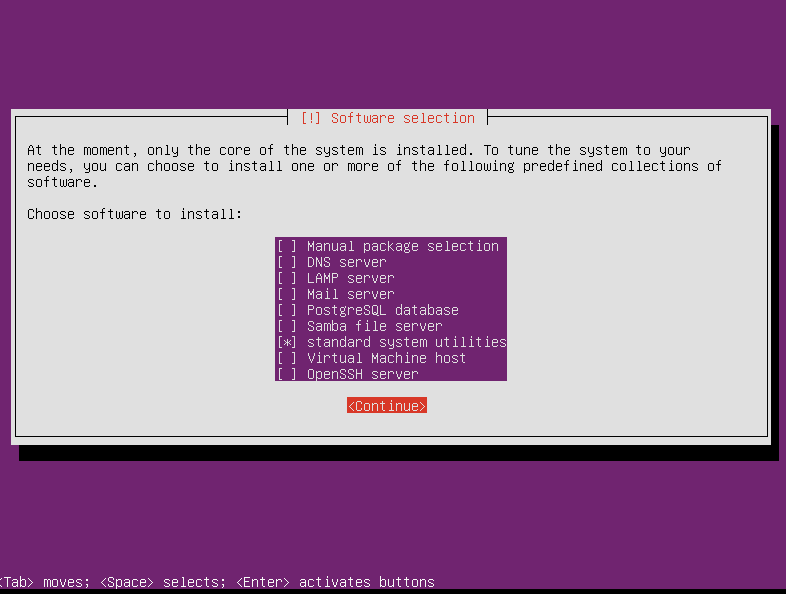
On the Software selection menu, you can select any package which will you install in your server. in this tutorial I only select the standar system utilities. for other package if i will to use i can manual install later after the operating system finish the installing.
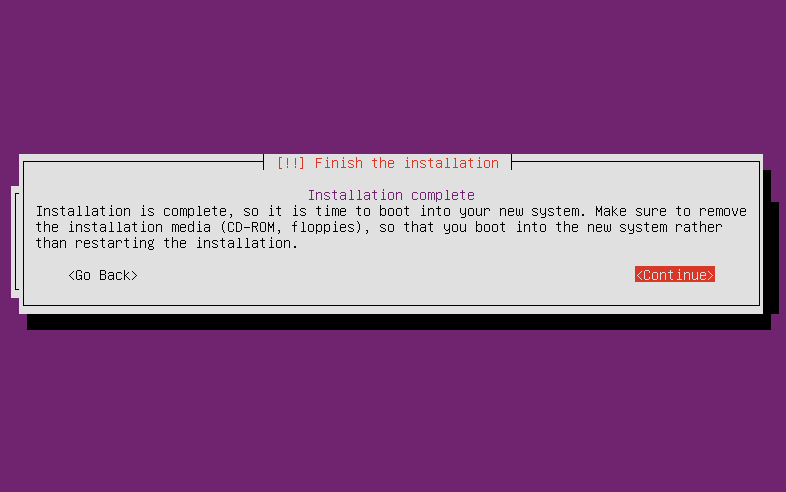
And the last section press enter to finishing the installation
Ubuntu Server has the finished installing. you can login with your regular user first, and then for login to root you can use sudo -i and the password server.
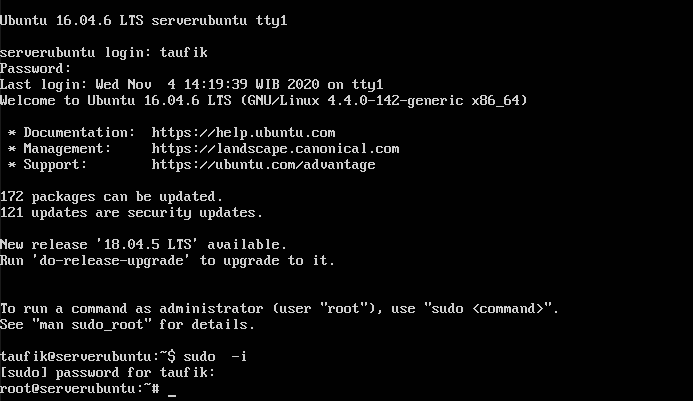
Let’s Try